Power BI can use data sets from powerbi.com. The data sets can be automatically updated with current data.
This requires no Power BI gateway; the connection links directly from Power BI to Invantive Cloud (see Does Invantive Cloud need Power BI Gateway?). So there is no need to leave a PC powered on to refresh the data; this is bad for the environment and moreover nowadays relatively expensive in terms of power consumption (power costs can easily be more than 50 euros per month).
This applies to all supported platforms such as AFAS Profit, Loket, Twinfield, as well as Exact Online.
In this article, you’ll learn how to create a data set for Power BI and how to set it up so it updates automatically. The steps work for all platforms and all over 1,000 available Exact Online tables. As with Invantive Cloud, all selected companies will be imported at once and saved per table in one data set.
Creating a Power BI data set requires access to the Power BI Desktop application. It is not possible at this time (March 2021) on powerbi.com to create and/or modify an OData feed within the website. Mac users will therefore need to briefly get behind a Windows PC. Power BI Desktop can be downloaded from, for example, the Microsoft Store in the Windows start menu.
Setting up the data set in the second part of this article works on all platforms, including Mac OSX via, for example, Safari.
Compile Exact Online Data Set.
Perform the following steps to create a PowerBI.com data set for Exact Online:
- Connect to Exact Online as described.
- To access the data set through PowerBI.com, it is necessary to use a ‘*’ in the Bridge Client IP address list. More explanation can be found here: Fix itgenboe031 and itgenboe030 error on Power BI Refresh (Bridge Online access is not authorized from IP address ...).
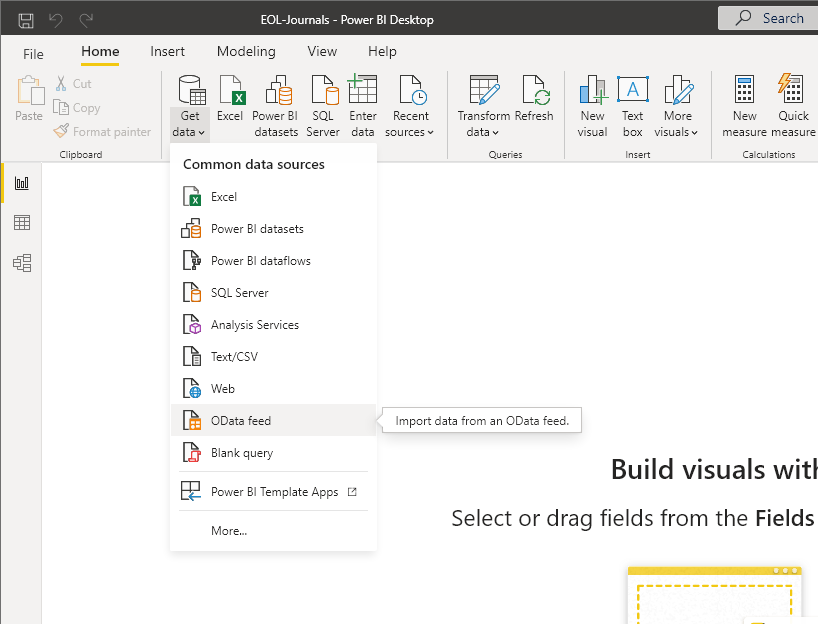
- Open Power BI and under ‘Get Data’ select OData feed.
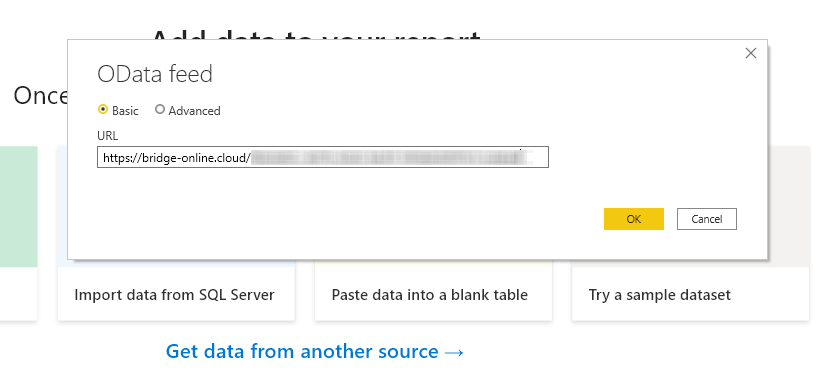
- Paste the Bridge Online URL of the desired Invantive Cloud database:
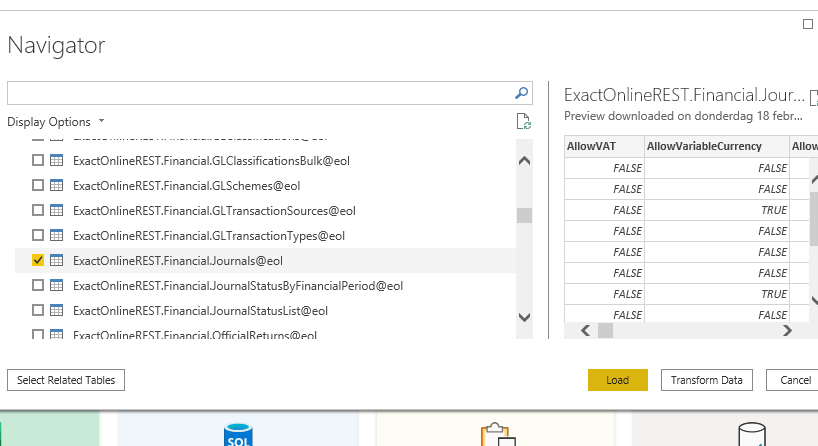
- Choose and load the desired tables like here Exact Online ledgers:
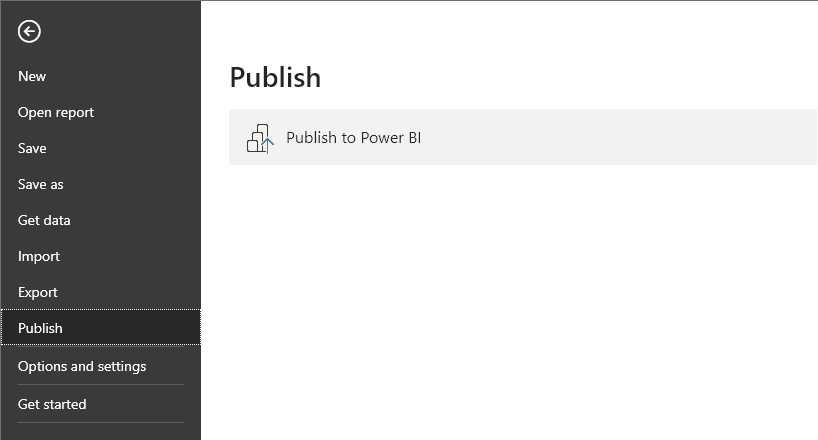
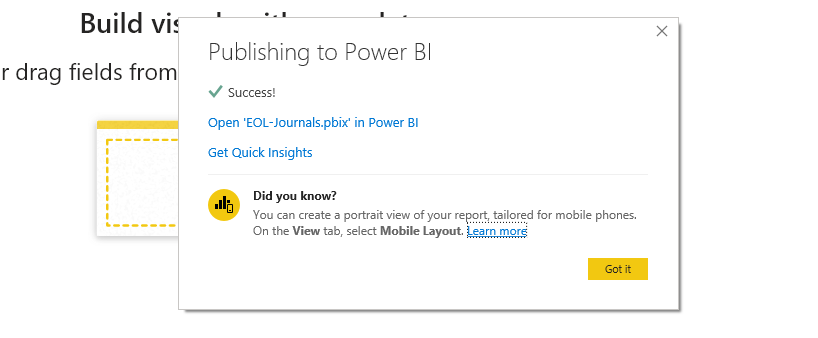
- Go to “File” and choose “Publish”, then select “Publish to Power BI”.
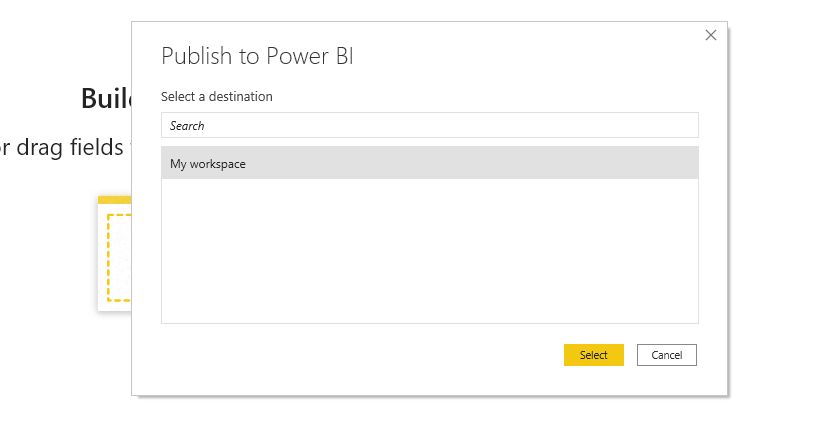
- Save the file and select the desired workspace.
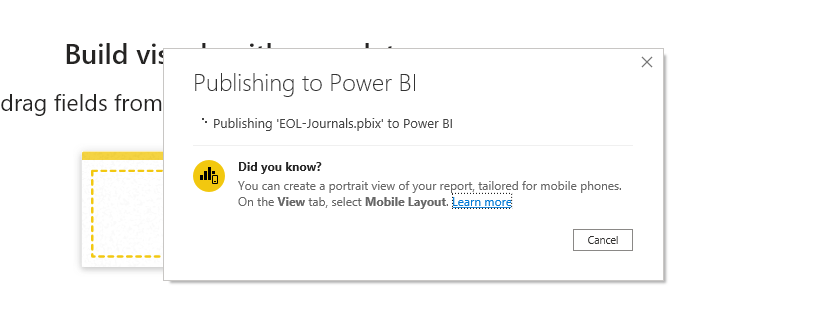
- Publish the data set.
- Close Power BI Desktop.
Automatically Update Exact Online Data Set.
The data set containing Exact Online data is now defined on PowerBI.com. Next, we are going to set up the data set to be updated regularly:
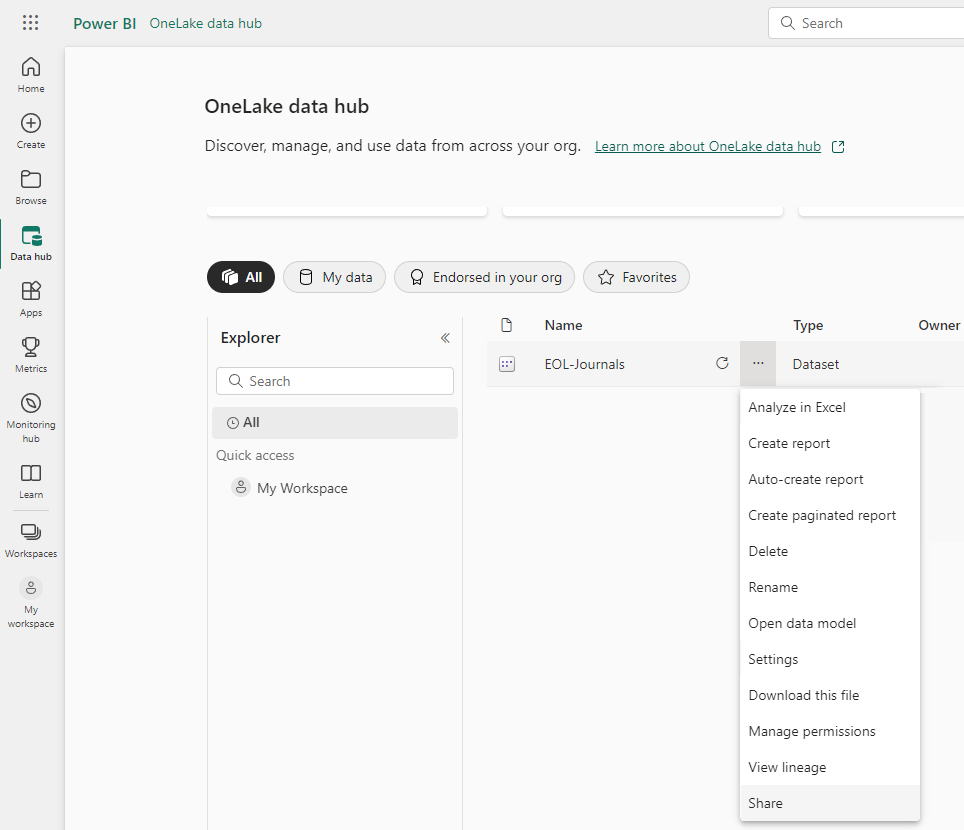
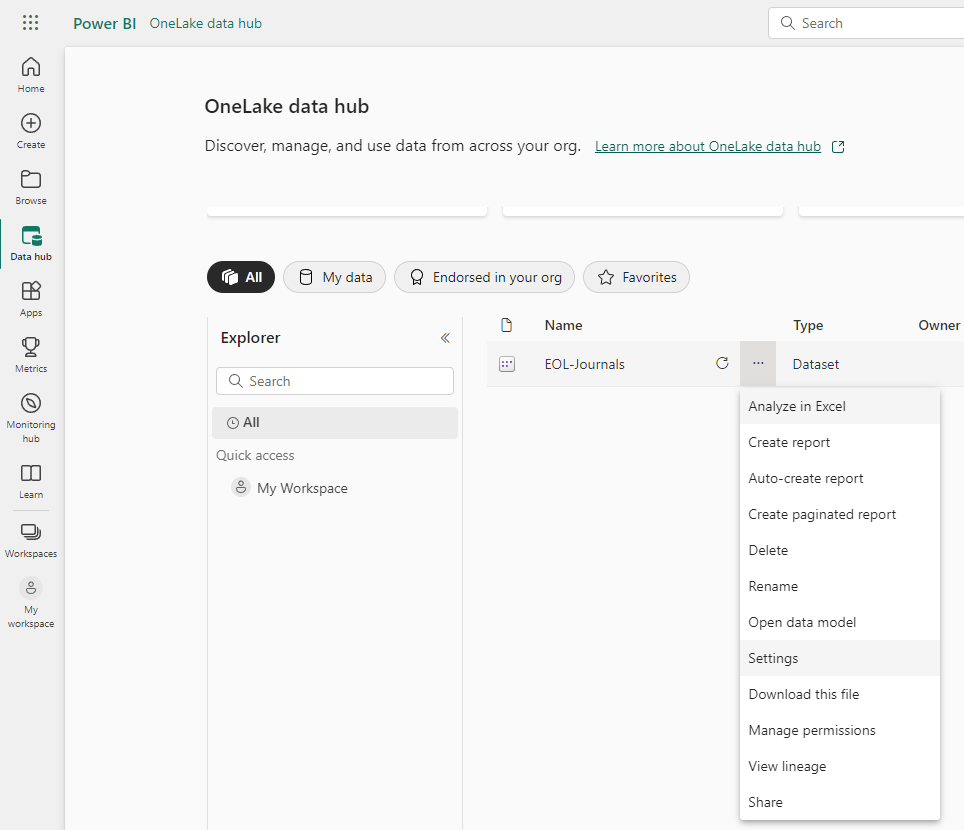
- In your browser, open the website https://www.powerbi.com and select ‘Data hub’ from the menu on the left. There you should see the dataset you just published. Click on the three dots next to the dataset and choose ‘Settings’.
- Next, set the desired refresh rate.
- In the published file, reports can be created via Power BI Desktop. This report can be viewed on powerbi.com (it can be found above the dataset) and updated with the desired refresh rate.

Share access to a Power BI dataset
A useful download size improvement you can use is a shared dataset. This means to have a single data model and dataset serving multiple reports. Sharing a dataset reduces maintenance time and will reduce the amount of data downloaded refreshing the reports. Instead of downloading the same data multiple time for multiple reports, you only refresh the centralized dataset and all reports sharing this set will have the latest data.
To share a dataset across workspaces and report on the same dataset, follow these steps:
- In your browser, open the website https://www.powerbi.com and select ‘Data hub’ from the menu on the left. Click on the three dots next to the dataset and choose ‘Share’.
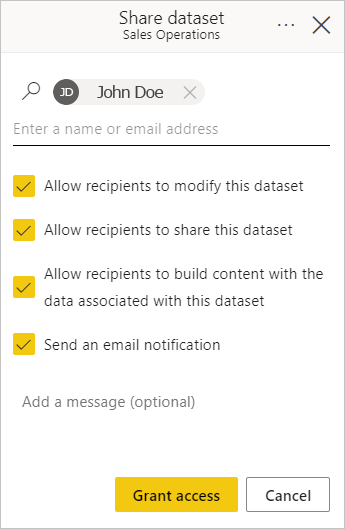
- In the dialog that appears, select the specific people or groups that you want to grant access to and specify the types of access.
- Click ‘Grant access’