The instructions are now also available on the Invantive Cloud site at https://cloud.invantive.com/exactonline/power-bi-connector/setup.
This article illustrates the steps to register your first database on Invantive Cloud. For this sample, we will use Teamleader, but the steps are closely similar across all supported platforms.
Loading data into Power BI or Power Query and already have registered a database? Follow these steps to access the data from Power BI or Power Query within Excel.
Instructions
Execute the following steps to register a database on Invantive Cloud:
- Follow Register Account on Invantive Cloud when you don’t yet have an account on Invantive Cloud.
- Do you see the option “Databases” listed in the menu of the left-side of the screen?
- If not: complete your profile by clicking on “My Profile“ by providing a value for all fields.
- When complete, the option “Databases“ shoud occur.
- If the “Databases“ menu option is still missing: check that there are no overdue open invoices. The overdue open invoices can be found by clicking on “Invoices“ in the left-side menu.
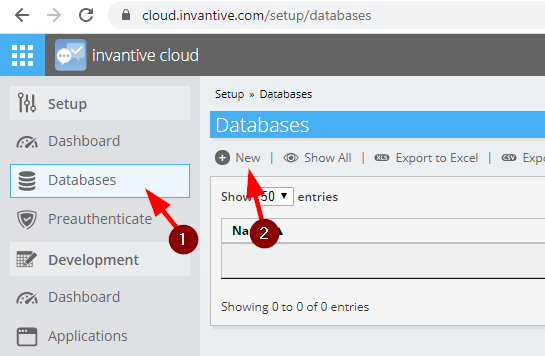
- Click on “Databases” and then “New”:
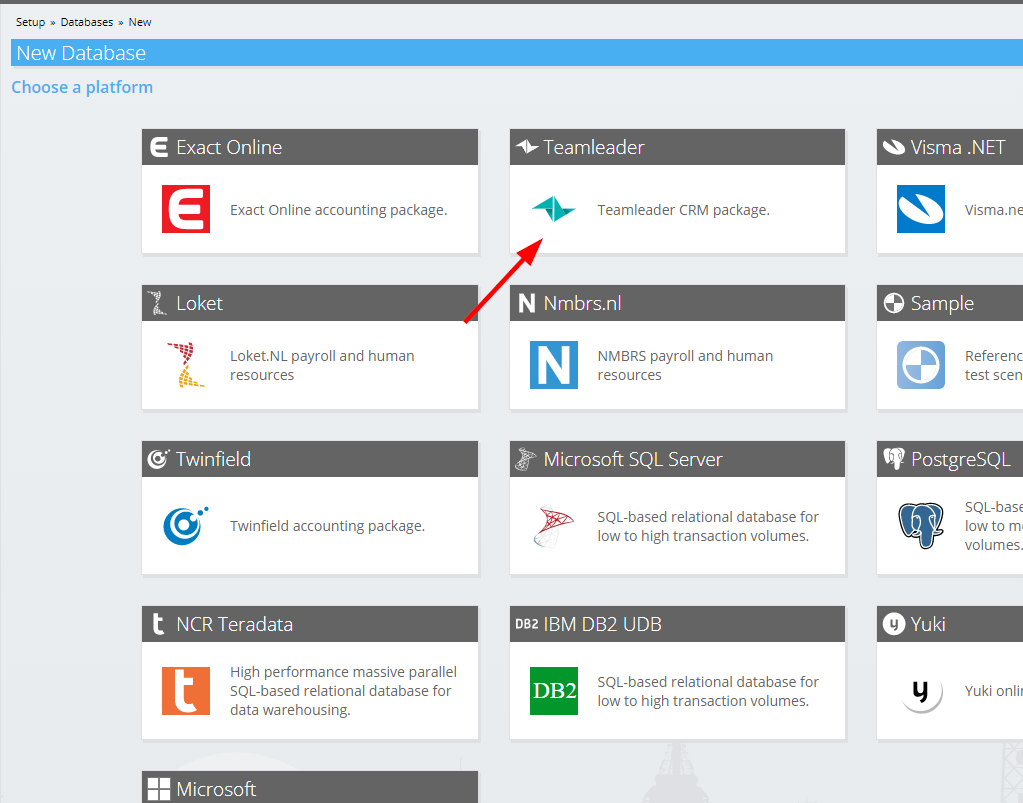
- Choose the platform; in this sample Teamleader:
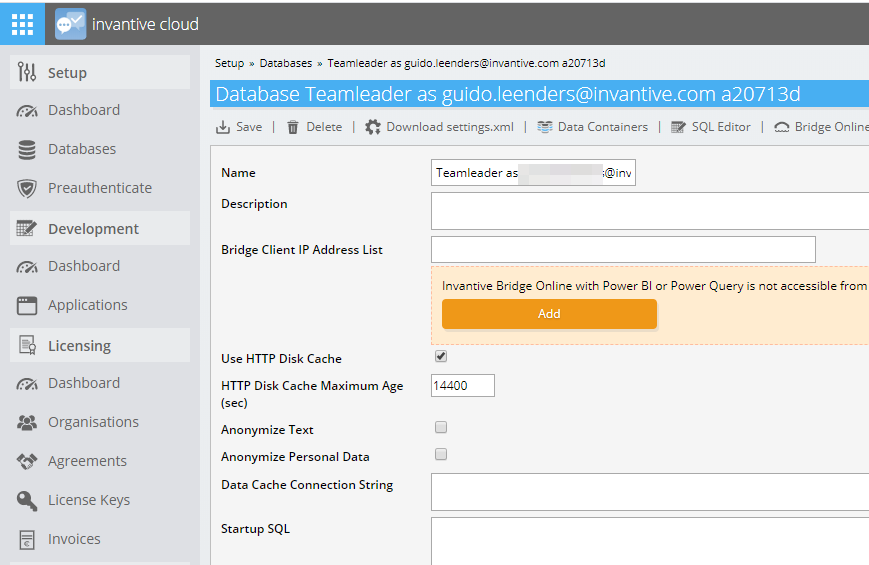
- Enter your Teamleader log on credentials.
- A database has been registered:
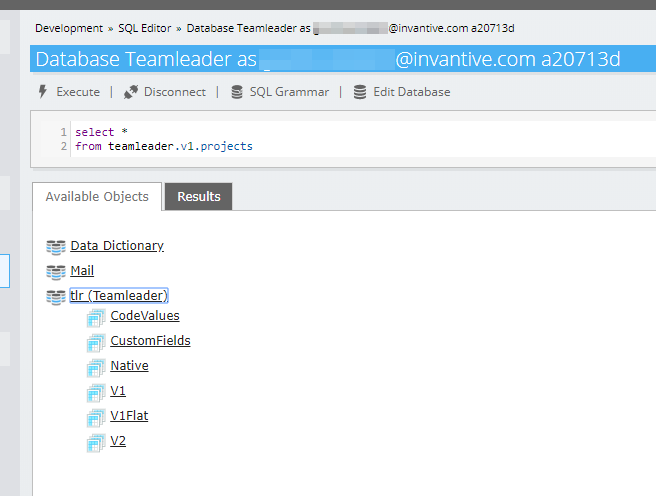
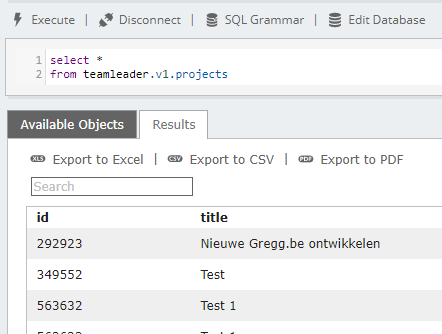
- Click for instance on the SQL Editor button to run a query:
- Optionally export the results:
- You are done.
Possible next steps:
- Access the database from Power BI or Power Query using Bridge Online using these steps.
- Define an application on the database.
These steps can also be viewed online on Youtube:
